Flush mounting using the rear mounting kit
Installation steps for flush mounting the display using the rear mounting kit (supplied with select Axiom 2 7" display variants and all Axiom 2 9" / 12" display variants).
InstallationFlush mountingRear mounting kitMountingFlush mountingRear mounting kitFlush mountingRear mounting kit
(Axiom 2 7" only) If you wish to flush mount your Axiom 2 7" display using the rear mounting kit and the required parts are NOT supplied with your product, refer to the following section:
The supplied gasket provides a seal between the display and a suitably flat and rigid mounting surface or binnacle. The gasket should be used in all installations. It may also be necessary to use a marine-grade sealant if the mounting surface or binnacle is not entirely flat and / or has a rough surface finish.
In above decks installations, marine-grade sealant should always be used to seal the gap between the edge of the mounting surface and the edge of the display.
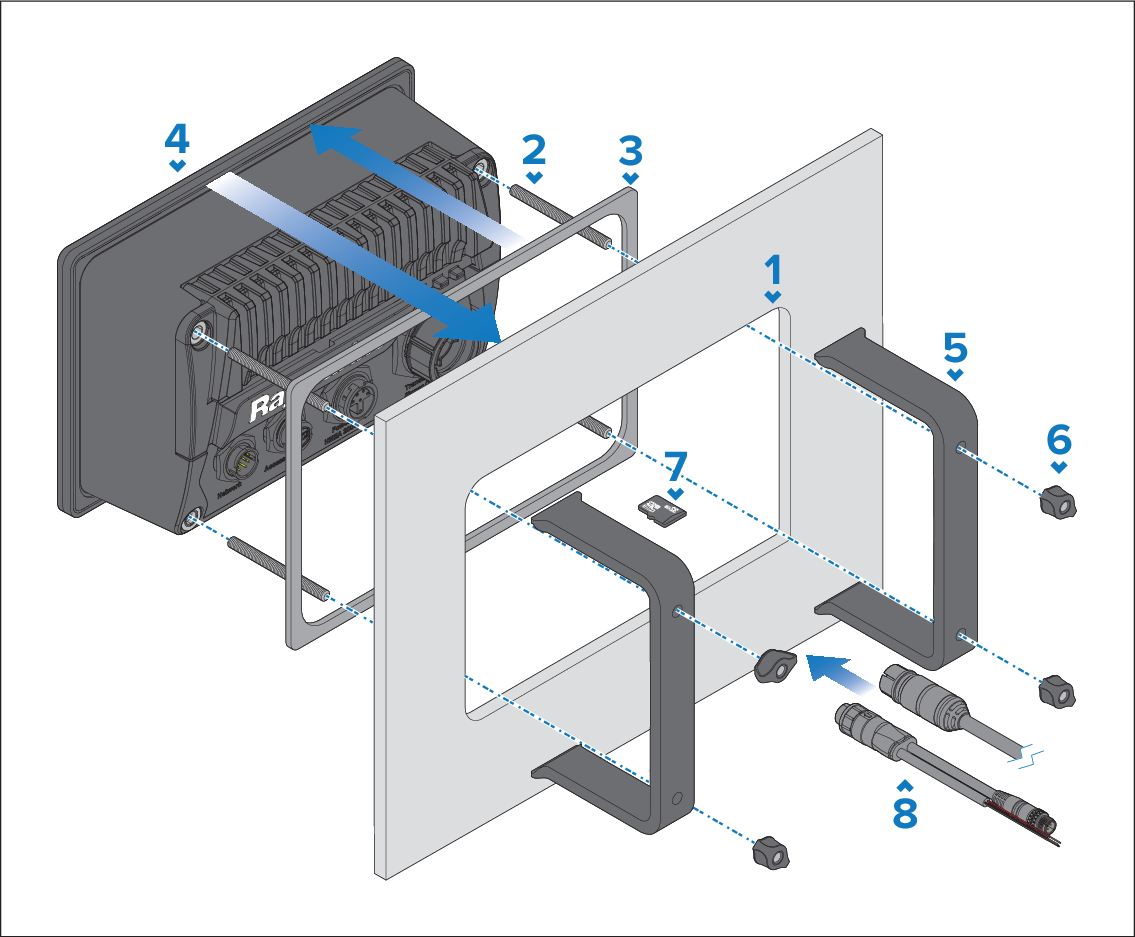
- Place the rear mounting brackets over the threaded studs.
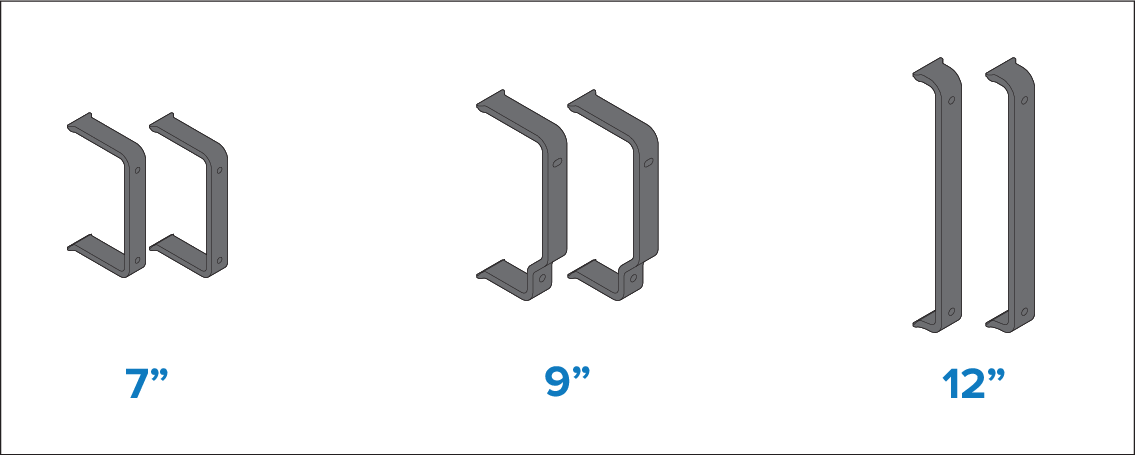
The appearance of the brackets which are supplied with your display may differ from that shown, due to the differences in size between each of the Axiom 2 7" 9" & 12" variants. However, the installation procedure will remain the same.