Testing and adjusting the transducer
After the initial installation has been carried
out, the transducer should be tested and — if required — adjusted
prior to finalizing the installation.
InstallationTestingThe testing should be carried out with your vessel in the water, with a depth greater than 0.7 m (2.3 ft) but less than the maximum depth range of the transducer / sonar channel.
Note
It may not always be possible to obtain depth readings at higher speeds, due to air bubbles passing under the transducer.
It may be necessary to make several adjustments to the transducer before obtaining optimum performance.
If the transducer requires repositioning, ensure all old holes are filled with marine grade sealant.
- Angle and height adjustments should be made in small increments
and re-tested each time until you obtain optimum performance.
- Loosen the mounting bolt to adjust the transducer angle.
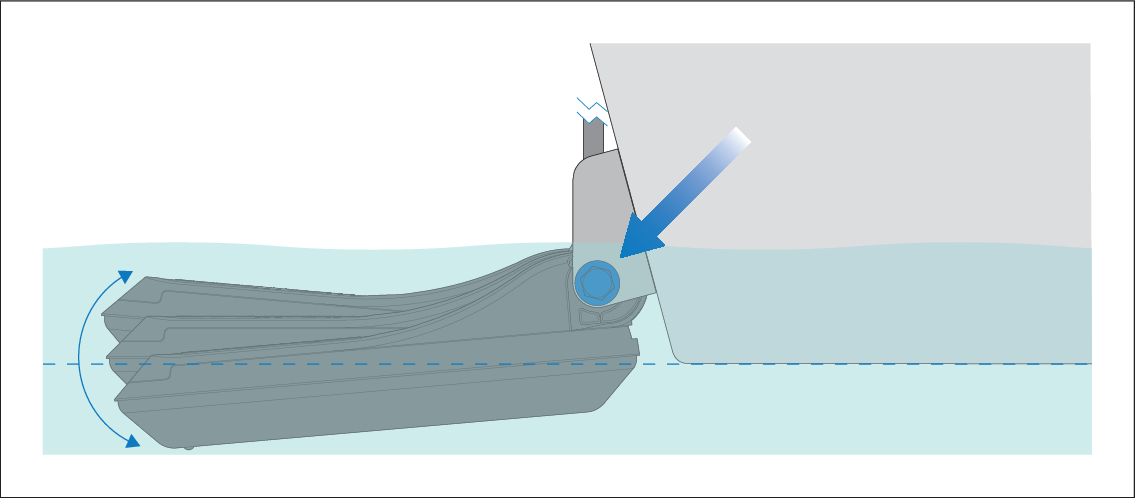
Figure 1. Angle adjustment
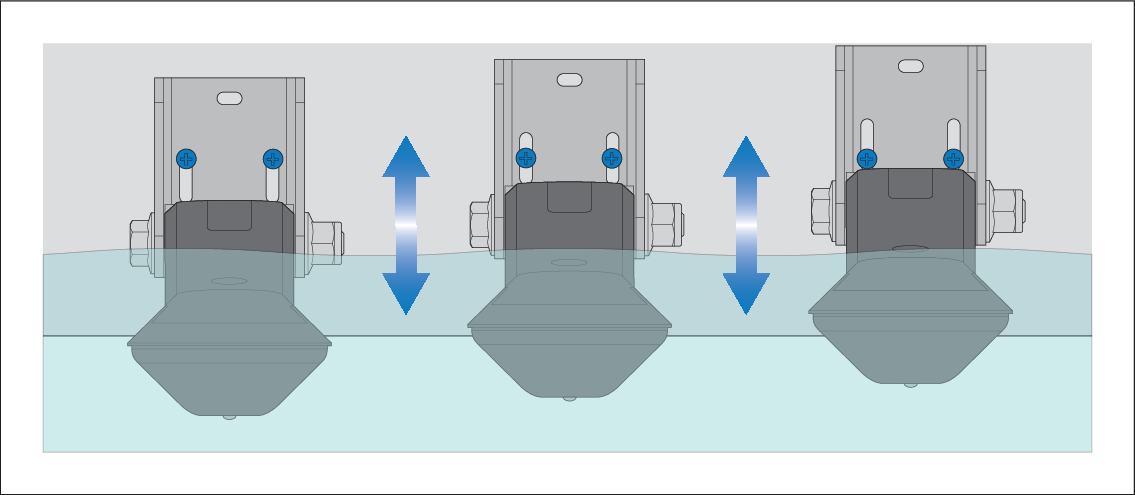
- Loosen the 2 mounting bracket screws to adjust the transducer
height.
- Loosen the mounting bolt to adjust the transducer angle.