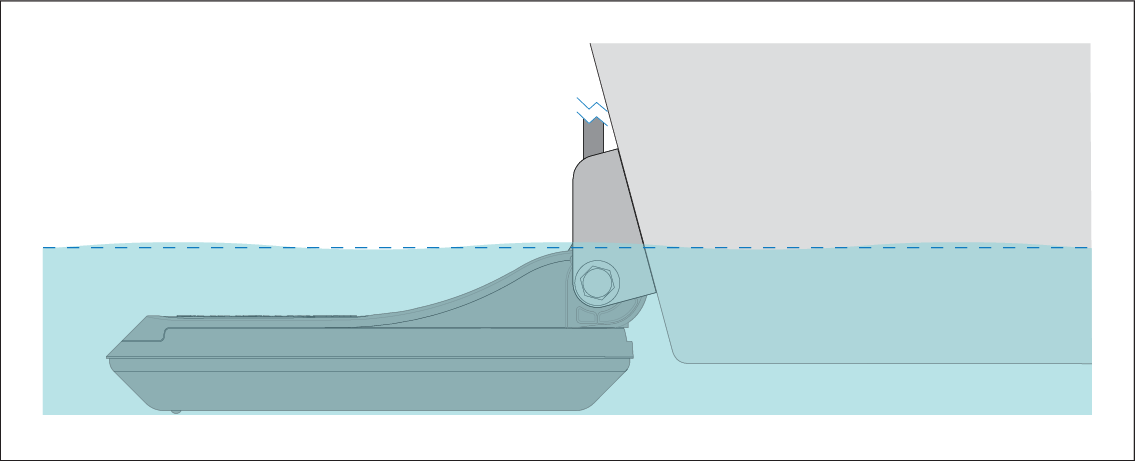
Mounting the transducer

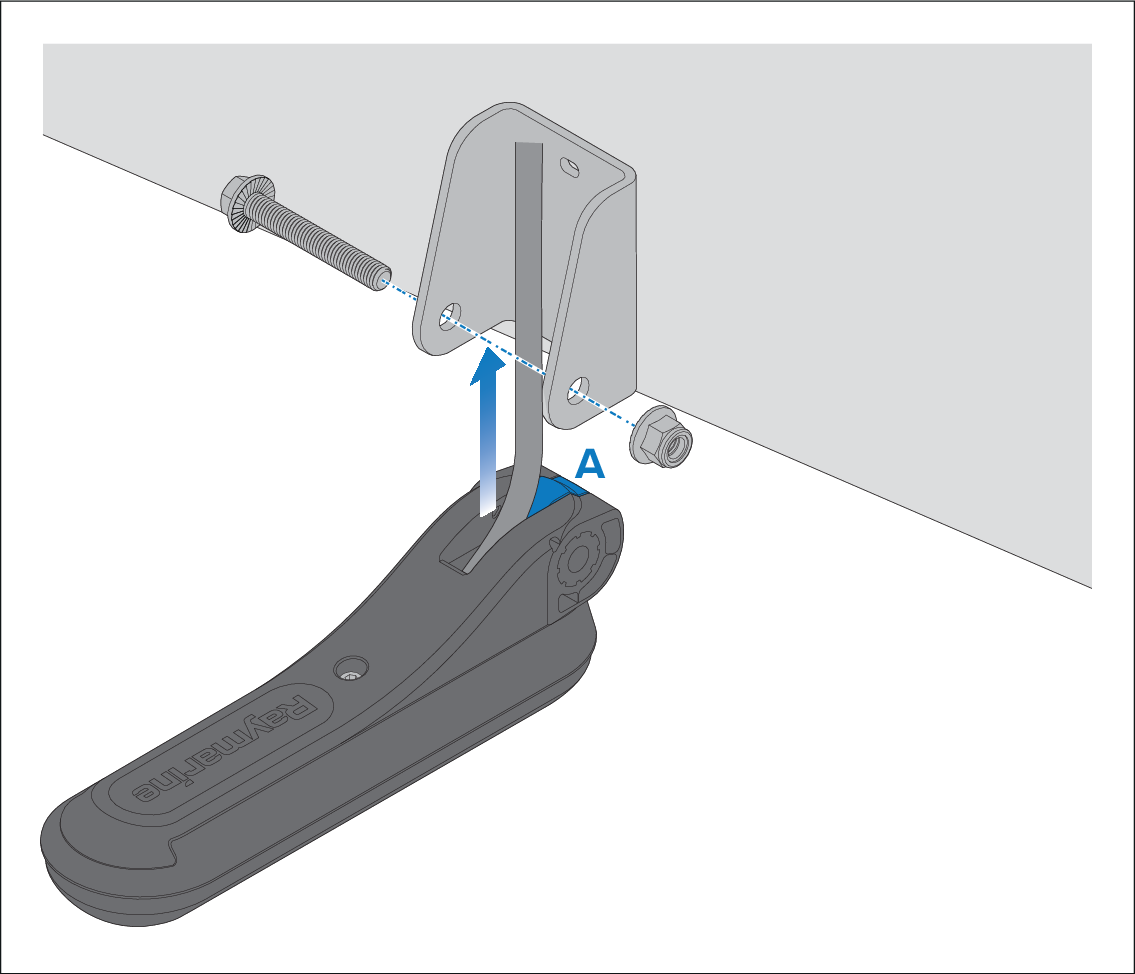
The transducer is mounted to the mounting bracket using the supplied nut and bolt.
Important
  • Only perform the installation with your vessel out of the water.

  • Do NOT lift or suspend the transducer using its cable.

  • Do NOT overtighten the bolt. Overtightening may cause damage to the transducer.

Note

The screw located on top of the transducer is used when connecting the transducer to a mounting adaptor such as the Step mount bracket (A80479). You do not need to adjust this screw for transom mount installations.
Mounting the transducerInstallationTransducer
  1. Ensure that the plastic chock (marked ‘A’ in the illustration) is positioned in front of the transducer cable. If it is not, push the chock into the correct position, aligning the hole in the chock with the holes in the transducer.
  2. Position the transducer between the arms of the mounting bracket.
  3. Align the hole in the transducer with the holes in the mounting bracket.
  4. Slide the mounting bolt through the holes.
  5. Screw the flanged nylock nut onto the end of the mounting bolt.
  6. Tighten the nut onto the mounting bolt, using 2 x 14 mm wrenches or adjustable wrenches, until the transducer is secure, but can still be adjusted (tilted) by hand.
  7. Tilt the transducer so that the bottom face of the transducer will be parallel with the waterline and tighten the nut and bolt until the transducer is held firmly in place.