The performance display can be retrofitted to the mounting
position of an existing Raymarine® instrument, such as the ST60, ST60+, i50, i60, i70, i70s. In this mounting scenario, the performance
display bezel protrudes from the mounting surface, with a 24 mm (0.9 in.)
gap between the bezel and the mounting surface.
Important
In above-decks installations, marine-grade
sealant should be used to seal the gap between the mounting surface
and the performance display bezel.
InstallationRetrofit / offset mountRetrofit / offset mount
Ensure you have followed the relevant instructions for
preparing the mounting surface for retrofit / offset mounting.
In the case of a retrofit, remove the existing instrument
product, and any associated cables.
Route the relevant cables for the new performance display
behind the mounting surface cutout.
This may be difficult or not possible once the display has
been mounted.
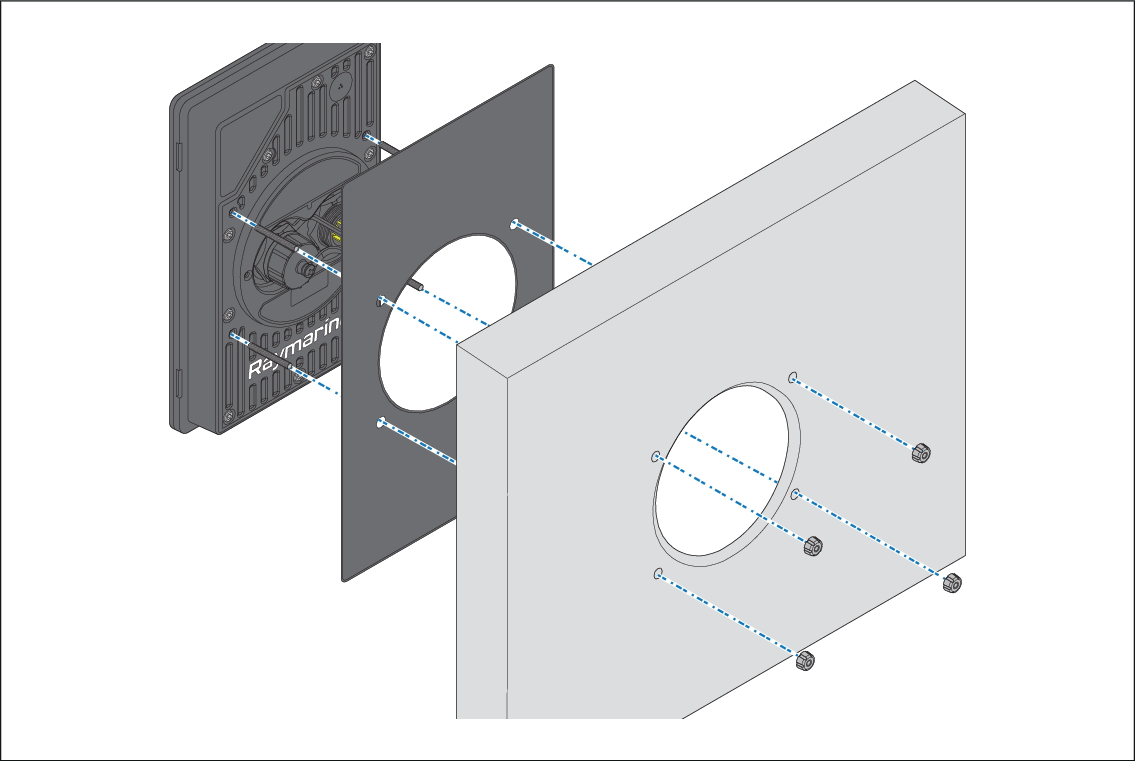
Insert the supplied threaded studs into the rear of the
performance display.
Remove the waterproof gasket cutout as shown above, and
fit the gasket over each threaded stud onto the performance display.
Place the threaded studs into the drilled holes on the
rear of the performance display.
Attach the supplied thumb nuts to the end of each stud.
Tighten the thumb nuts by hand until the performance display
is secured firmly in position.