Securing the pedestal to the mounting platform
MountingPedestalPedestalMounting
Before securing the pedestal to the mounting platform, ensure that you have:
Selected a suitable location, based on the location requirements found in this document. For further information, refer to: Location requirements
Identified the cable connections and route that the cables will take.
Prepared suitable lifting equipment for fixing the pedestal to the mounting platform. The Radar pedestal weighs 24.2 kg (53.35 lb) without an antenna fitted.
For safety reasons it is recommended that the unit is not lifted by one person. The unit is supplied with a lifting sling (maximum Safe Working Load (SWL) = 1000 kg). Suitable lifting equipment could include a crane, hoist, or an appropriate rigid overhead structure. Do NOT attach the antenna to the pedestal prior to lifting.
Do NOT connect any cables until the following steps have been completed.
- Fix the supplied mounting template to the platform, using
masking or self-adhesive tape.
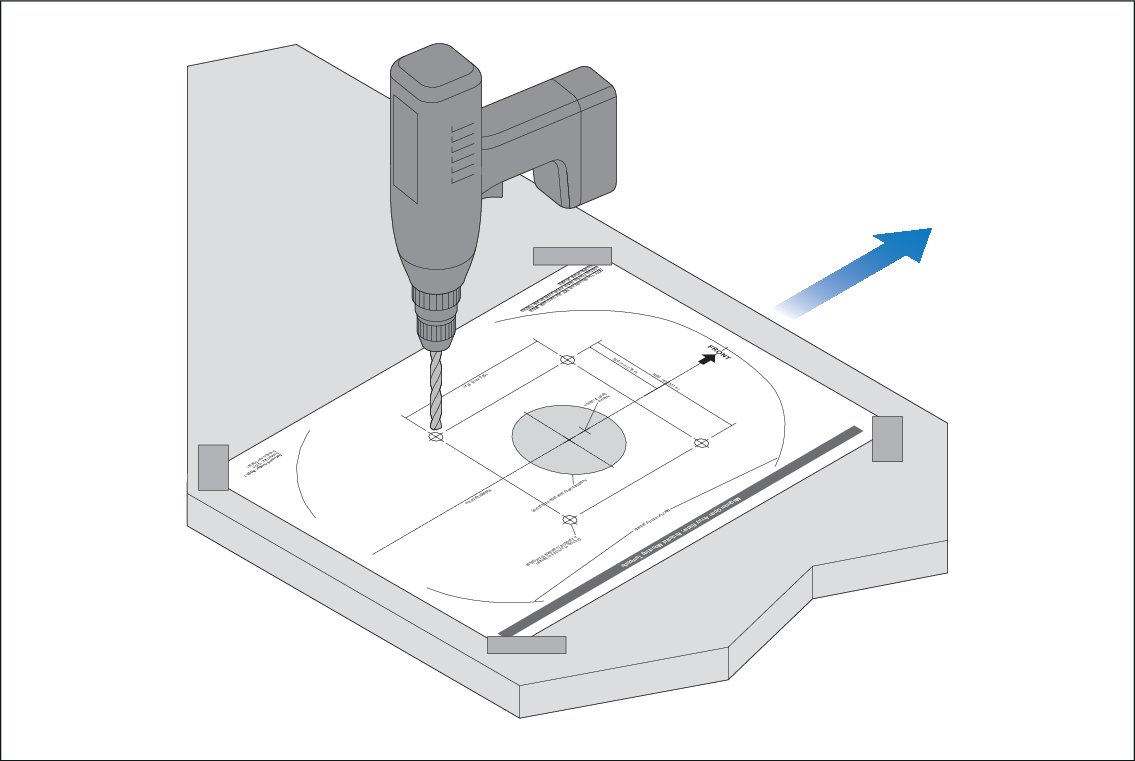
- Grease the 4 metal studs with the supplied Denso paste.
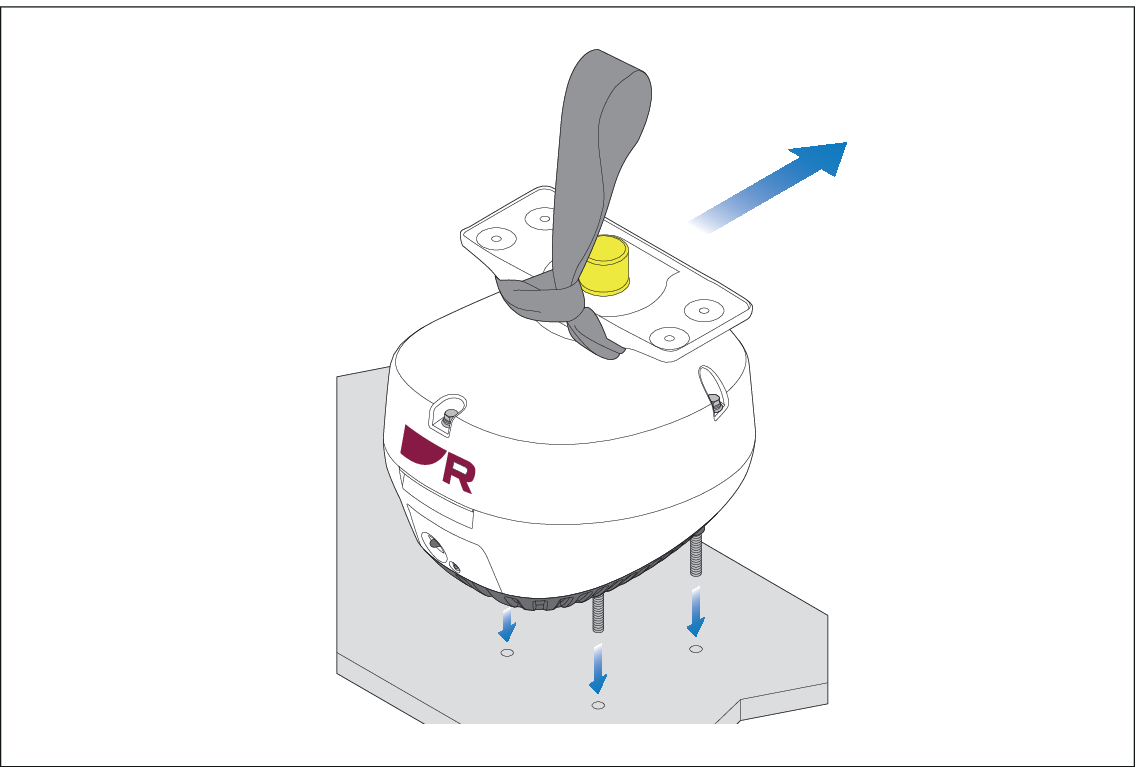
- Using the supplied lifting sling, looped beneath the antenna
rotor, raise the pedestal over the mounting surface. Carefully lower
into position, taking care that the studs pass through the holes without
damaging the threads. Ensure that the front of the pedestal is pointing
towards the bow of the vessel.
Important
Do NOT attach the antenna to the pedestal prior to lifting.
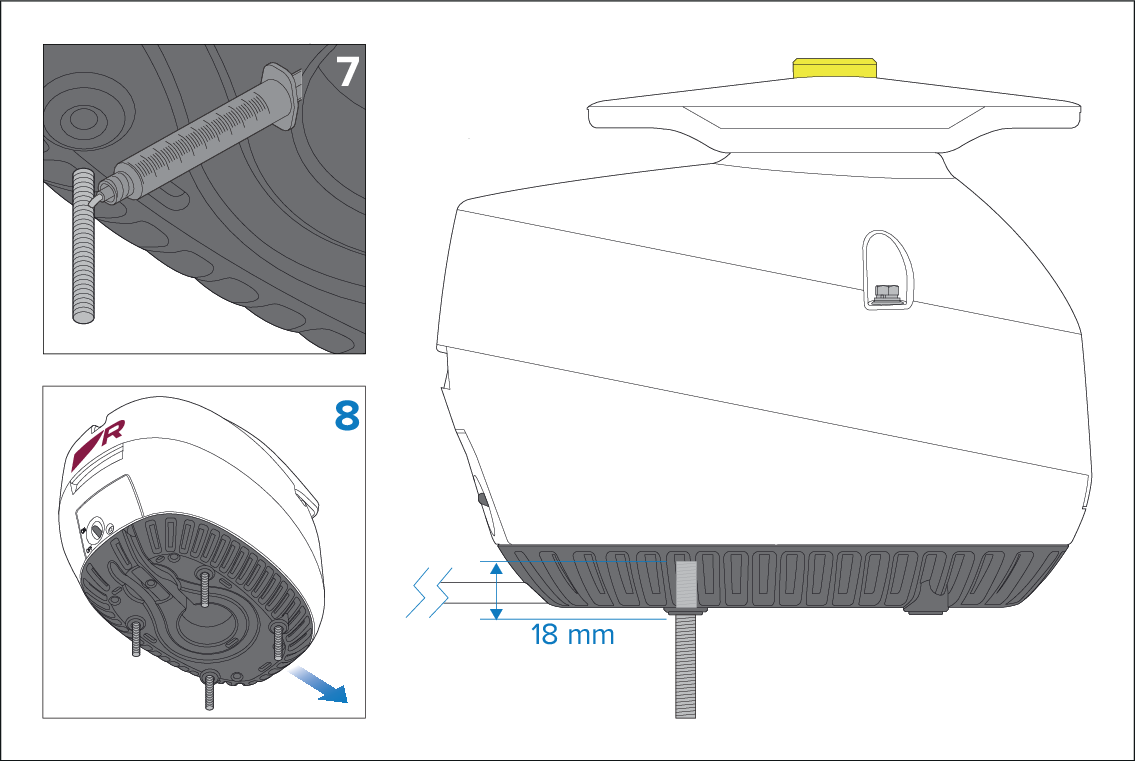
- Referring to the following illustration, use the 4 nuts
and associated washers to secure the pedestal to the platform. Tighten
each nut to 30 N·m (22.1 lbf·ft) torque.
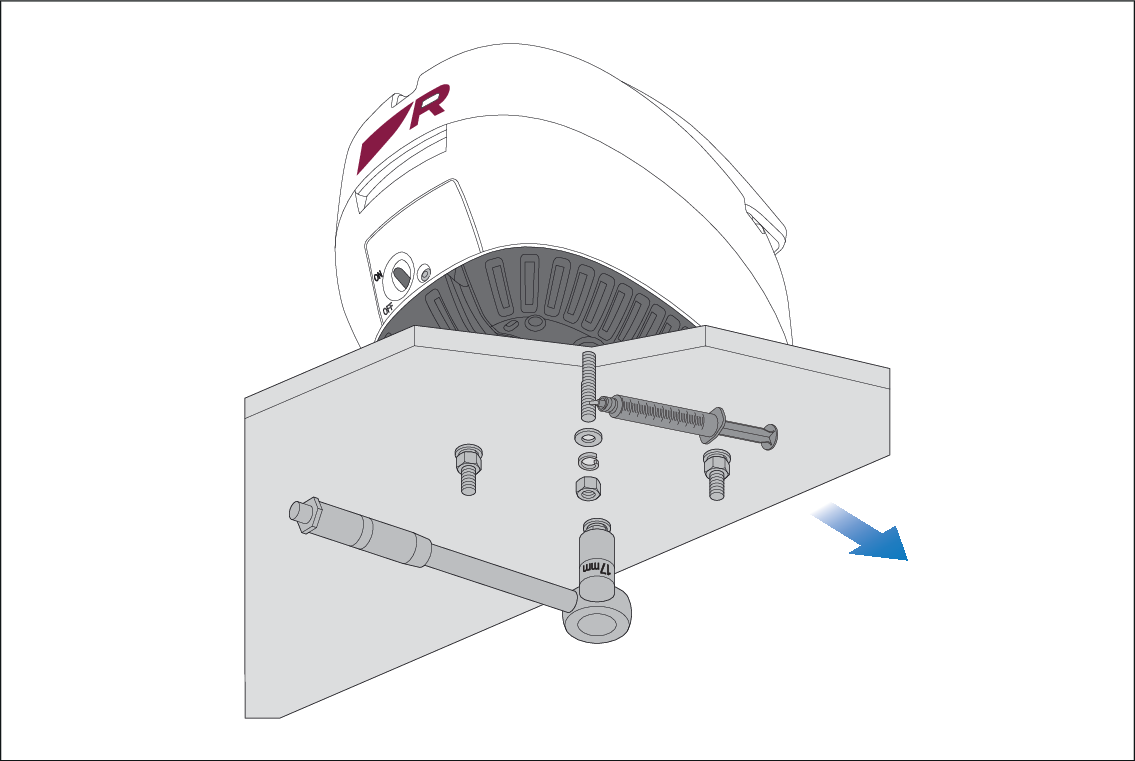
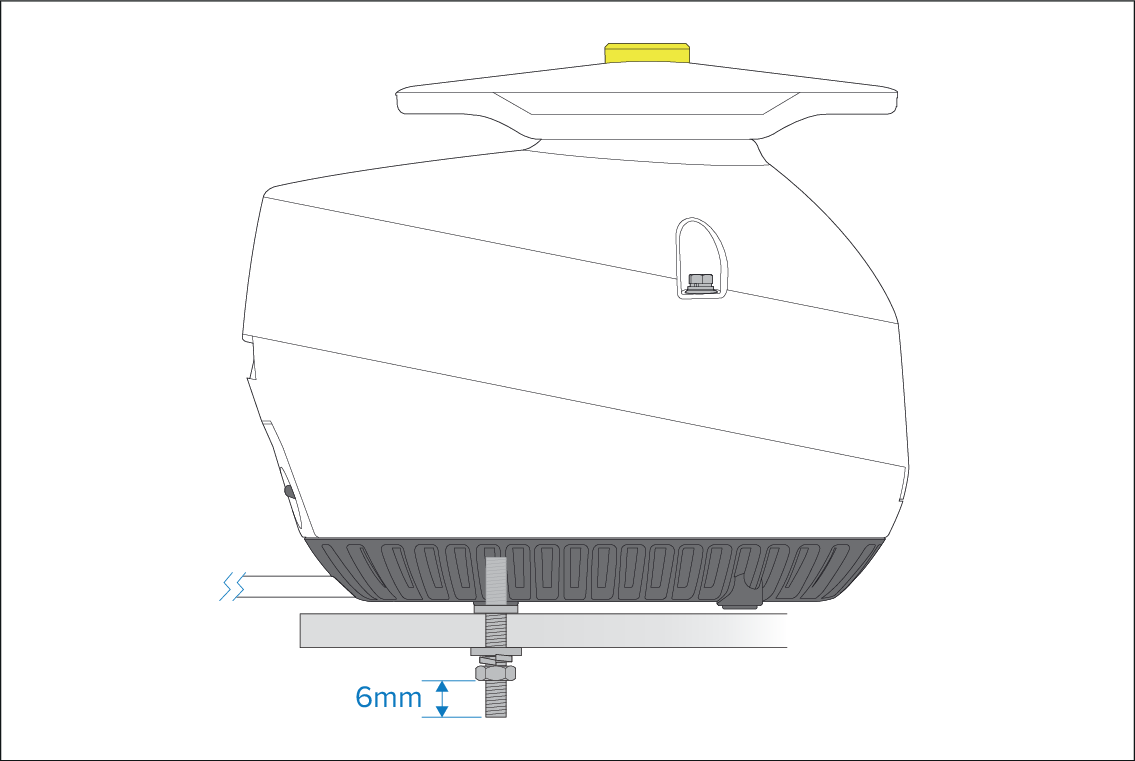
- Ensure all 4 sets of nuts and washers are used to secure
the pedestal to the mounting platform. There should be no more than
6 mm (0.24 in) of excess stud below the nut. Cut-off any excess stud.