Mounting the 5-in-1 antenna

The supplied 5-in-1 antenna must be installed in a location which has a clear line of sight to the sky, and where it will be away from structure and devices that could cause interference.

Important

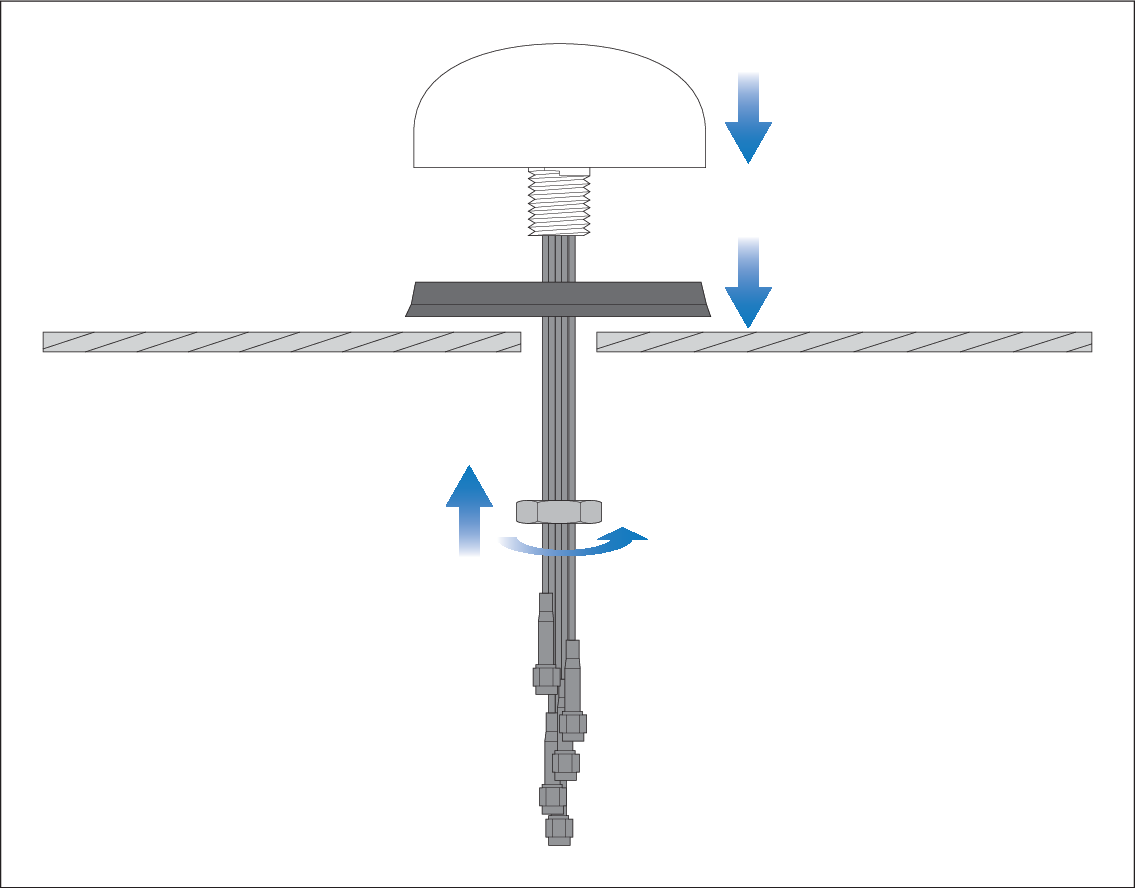
5-in-1 antennas manufactured prior to May 2023 had a shorter (16.00 mm (0.63 in)) and thinner diameter (23 mm (0.91 in)) thread. For these antennas, a thread extender kit is available as an optional accessory (part number: A80718). The thread extender kit enables the antenna to be mounted on a thicker mounting surface. It’s important to refer to the antenna mounting instructions supplied in the thread extender kit (document number 82425), as the kit requires a larger mounting hole size and a wrench for tightening the nut.

Mounting5-in-1 antenna
  1. Drill a 25.4 mm (1.0 in) hole at the center of the desired mounting location to accept the antenna’s thread and cables.
    Note

    If your antenna does not have the brass inserts then the hole diameter for the thread is 23 mm (0.91 in). See important note above.

  2. Feed the cables through the gasket and place on the underside of the antenna.
  3. Feed the cables and thread through the hole in the mounting surface so that the gasket and antenna sit flush on the mounting surface.
  4. Feed the cables through the split in the nut and secure the antenna by tightening the nut on the exposed thread.

    Tighten the split nut using a large adjustable wrench or a 30 mm wrench. The tightening torque should not exceed 1.47 N·m (1.08 lbf·ft).