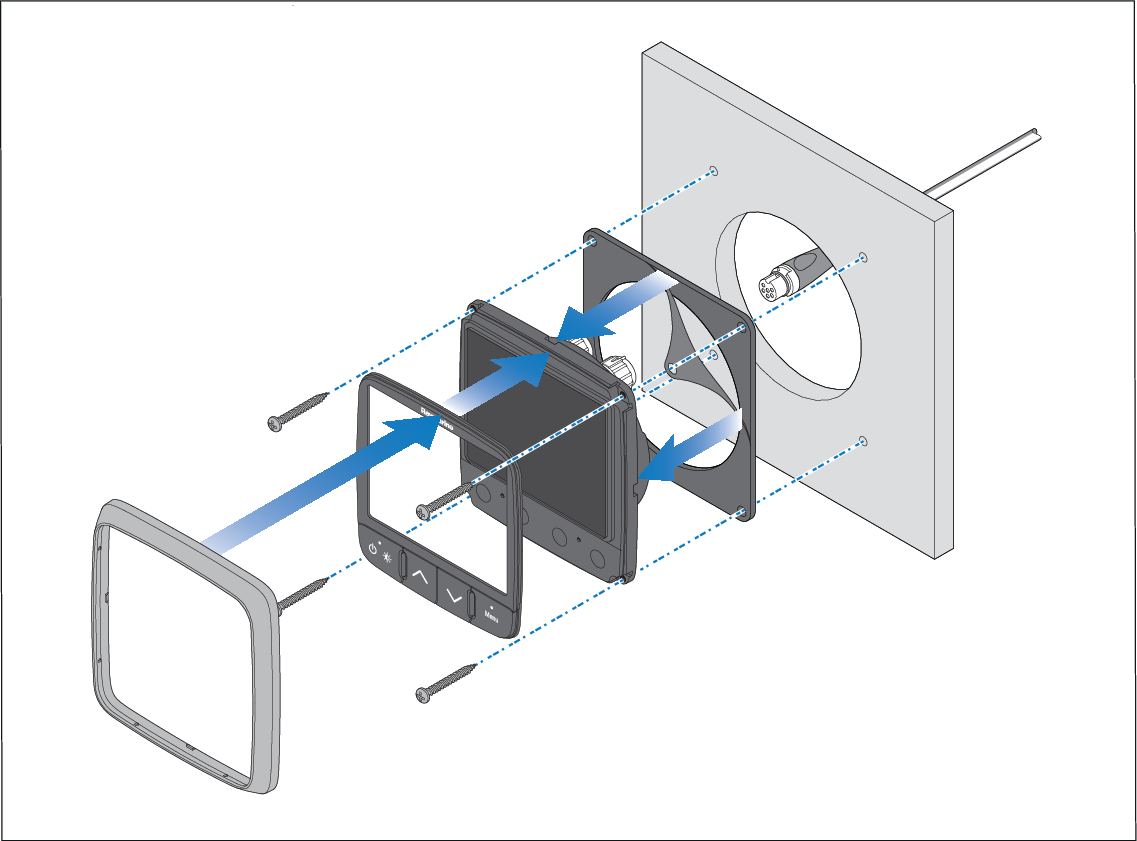
Mounting
Follow the instructions below to mount the display.
Mounting
Before mounting the product, ensure that you have:
Selected a suitable location, based on the location requirements found in this document. For more information, refer to: Location requirements
Identified the relevant cable connections and the route that the cables will take.
Removed the bezel and button pad from the display.
Drill bit, tap size, and tightening torques are dependant upon the material type and thickness of the mounting surface.
The supplied gasket provides a seal between the unit and a suitably flat and stiff mounting surface or binnacle. The gasket should be used in all installations. If the mounting surface or binnacle is not entirely flat and stiff or has a rough surface finish, it may also be necessary to use a marine-grade sealant.