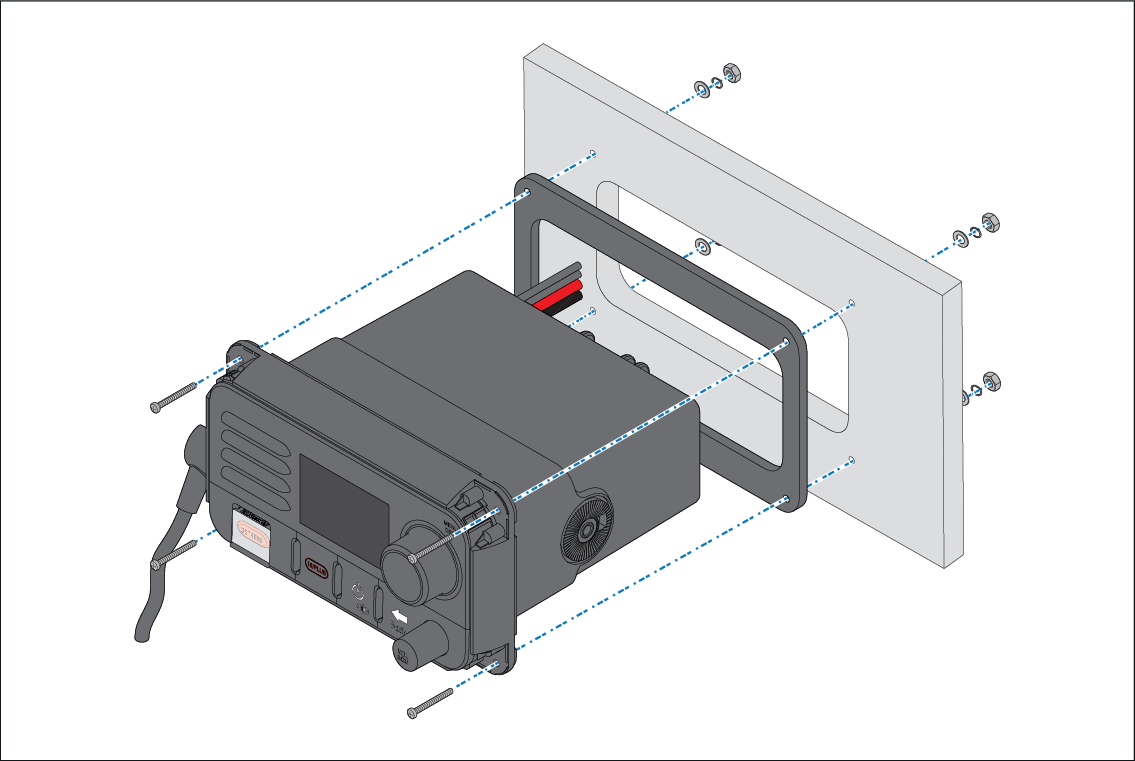
To panel mount the radio follow the steps below.
Panel mountingMounting
Before mounting the product, ensure that you have:
Selected a suitable location, ensuring there is nothing behind
the mounting surface that may be damaged when drilling / cutting.
Identified the cable connections and route that the cables
will take.
Removed the mounting hole covers.
Drilled out the mounting holes on the unit.
- Check the selected location for the unit. A clear, flat
area with suitable clearance behind the panel is required.
- Fix the supplied mounting template to the selected location,
using masking or self-adhesive tape.
- Using a suitable hole saw (the size is indicated on the
template), make a hole in each corner of the cut-out area.
- Using a suitable saw, cut along the inside edge of the
cut-out line.
- Ensure that the unit fits into the removed area and then
file around the rough edge until smooth.
- Drill 4 holes as indicated on the template to accept the
fixings.
- Remove the backings from the supplied gasket.
- Place the gasket in position on the back of the unit and
press firmly onto the flange.
- Connect the power, and other cables to the unit.
- Slide the unit into place and secure using the fixings
provided.
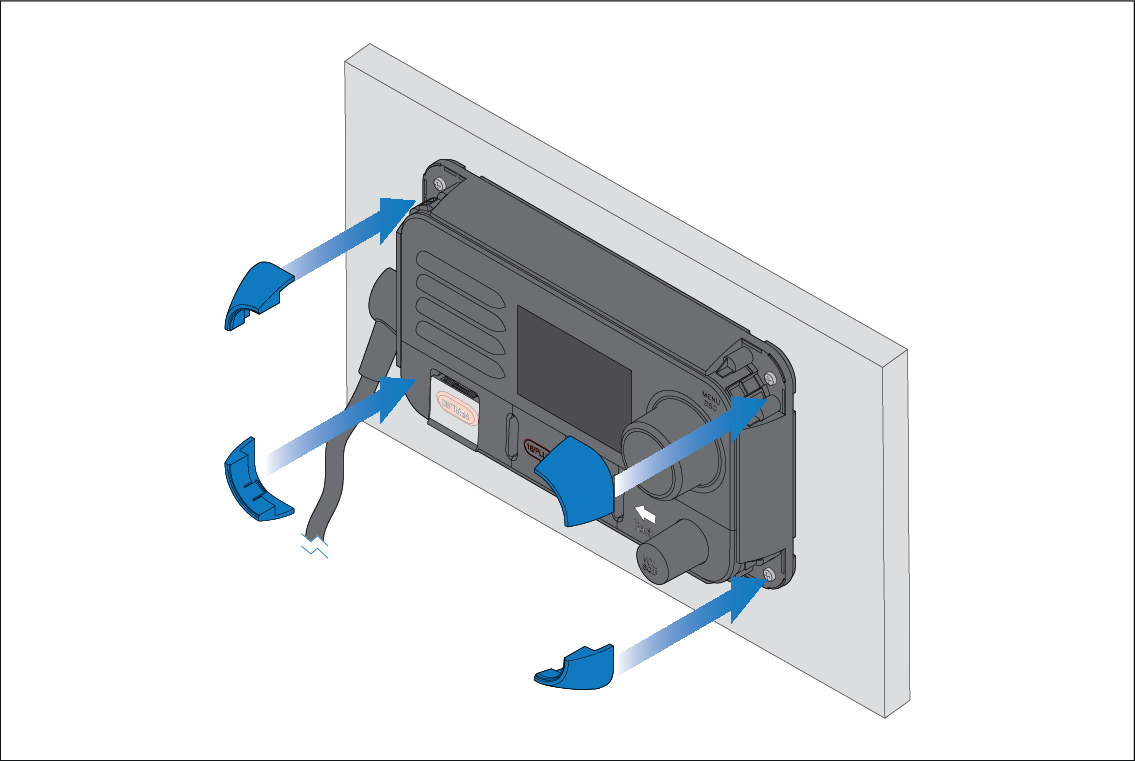
- Attach the mounting hole covers.
Note The supplied gasket provides a seal between the
unit and a suitably flat and stiff mounting surface or binnacle. The
gasket should always be used. It may also be necessary to use a marine-grade
sealant if the mounting surface or binnacle is not entirely flat and
stiff or has a rough surface finish.