In some circumstances, you may need to set a
static IP address for the camera’s IP-network, rather than relying
on the automatic IP addresses provided by the DHCP service (the camera’s
default setting).
IP addressstatic
Note
Unless you are specifically instructed to do so in FLIR documentation, or have previous
experience of configuring IP networks, you should NOT attempt to set
the camera’s IP-network parameters manually. If you mis-configure
the IP-network parameters, your camera may stop working correctly
or become inaccessible on the network.
This procedure
assumes that you have already established a network connection, and
can access the camera’s Web interface. For further information, refer
to: Camera IP address discovery
To configure the camera’s IP network parameters manually:
In the Internet Explorer Browser, type the camera IP address
into the address bar.
The camera’s web interface is displayed
In the User Name box, type “expert”;
in the Password box, type “expert”, then click Log in.
The Live Video page is displayed.
In the top menu, click Configuration, then in the left-hand menu, click Server > LAN Settings.
The camera’s network options are displayed.
Make any required changes to the IP-network parameters
(“LAN Settings”). The following example shows how
to set a static IP address:
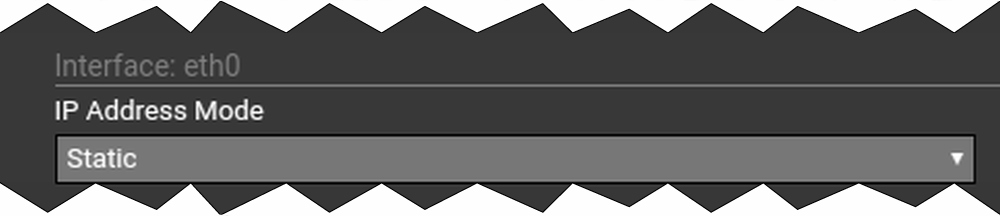
In the Interface: eth0 section of
the page, from the IP Address Mode list, select Static.
Adjust the values for IP Address and Netmask as required for the network your camera will be
connected to. The remaining parameters are not likely to require changes.
Note
Keep a record of the address shown in the IP Address box below the IP Address Mode list. You will need this address to access the camera’s configuration
web interface in future.
At the bottom of the LAN Settings page,
click Save.
An information dialog confirms that settings have been
changed, and that a network restart is required.
click Restart Network.
An information dialog confirms that the network has
restarted, and that you may need to enter a new IP address to regain
access to the camera’s Web interface.